
Compress images. See what fits.

Set a KB limit for your JPG, PNG or WebP files. See which ones are ready to download and which need another pass.

or drag and drop here

JPGPNGWebPUp to 20 MB each
No uploads Batch downloads

What does a smaller file look like?

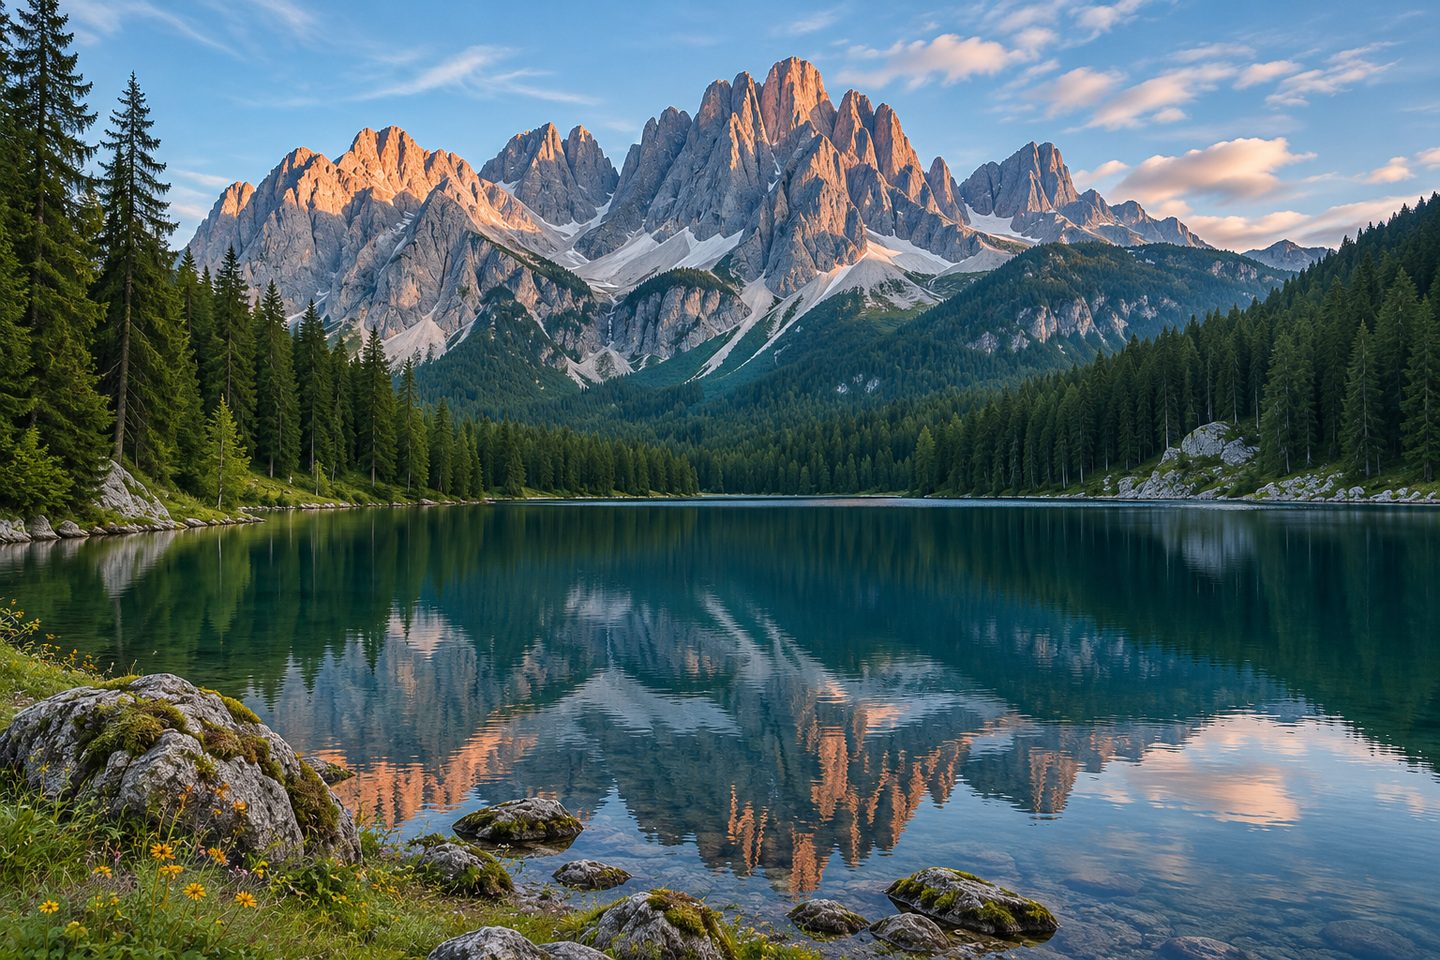
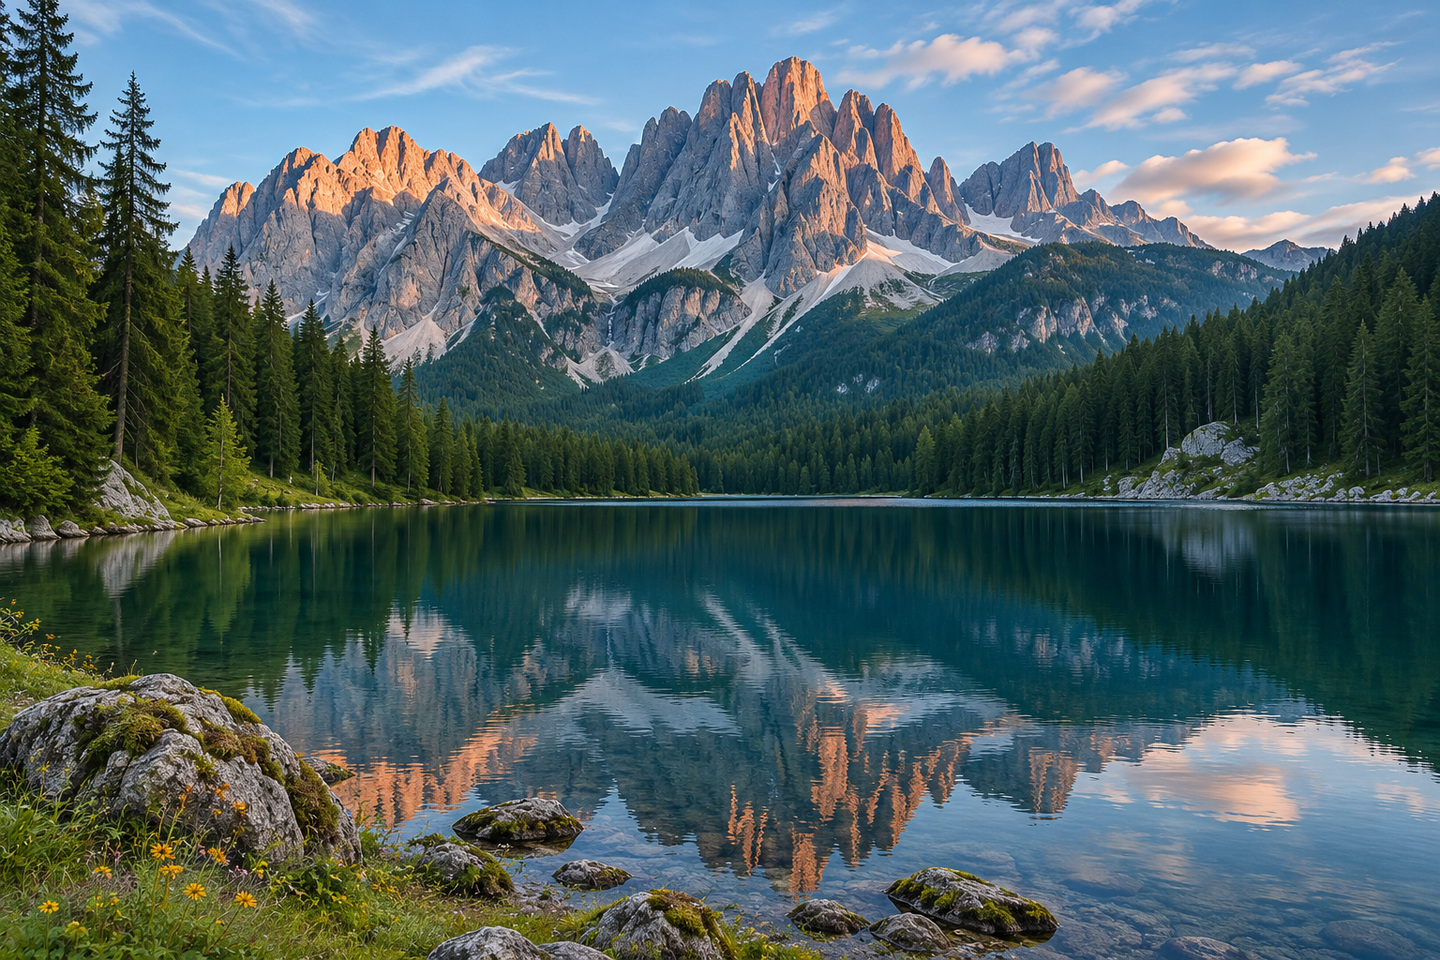
Drag across the mountain ridge, then look at the pines along the shore. Fine branches and sharp outlines are good places to spot changes when you compress image files.

Same photo, same dimensions

Both JPGs measure 1440 × 960 pixels. The file went from 771.1 KB to 339.8 KB. That result is for this photo. A screenshot or a previously optimized JPG can behave differently.

56%smaller in
this example
Pine forests and pale mountain peaks reflected in a blue alpine lake
Original 771.1 KB Compressed 339.8 KB

How to compress image files in three steps

  1. Add your images

    Drop in the files you need for this upload. Lightpic reads them in your browser, and your originals stay on your device.

    Group files that share a limit

    You can compress image batches of up to 12 static JPG, PNG and WebP files. If the same limit applies to all three formats, run them together.

  2. Pick a compression mode

    Start with Smart compress when you just want a lighter file. Switch to Target size when an upload form, inbox or asset budget gives you a number.

    Decide whether the dimensions can change

    Keep Allow resizing off if your image has to stay a certain width or height. To use new settings on the current batch, select Recompress all.

  3. Take the files that fit

    Check the size and dimensions on each row. If the file has a face, a label or tiny text, open the preview before you download it.

    Leave the rest in the queue

    Save one image or take the ready files in a ZIP. Anything over the cap stays in the list, where you can retry it on its own.

JPG, PNG and WebP need different checks

Lightpic keeps the format by default when you compress image files. Check fine details in the preview, or choose Convert to WebP if your destination accepts it.

A ribbed indigo pitcher beside woven linen, showing fine photographic texturesJPG

Look at texture and edges

Look at the pitcher's ribs and the loose threads in the cloth. Texture can hide small changes at viewing size, while a sharp rim makes them easier to spot.

Check what shoppers zoom in on

Compress image files for a listing, then zoom in on garment stitching, the printing on a label or the edge of a part number. Those details help buyers tell photos apart.

Test a clean edge or a shadow

Look where the pitcher meets the wall. A faint halo or blocky shadow is easier to see there than in the folds of the cloth.

An already-small JPG may be done

If a new export weighs more than the original, Lightpic keeps the original. You can still download it with the rest of a batch.


A folded blue paper shape with a transparent backgroundPNG

Keep text and cutouts crisp

The paper graphic makes the transparent area easy to spot. PNG works well for shapes like this and screenshots where a few pixels can change a letter.

Start with the smallest text

When you compress image exports from a design tool, inspect the smallest button label or thinnest divider. Check the transparency around the artwork as well.

Make a PNG lighter at full size

Lightpic can simplify a PNG’s color palette when that saves space, its transparency stays intact and the color change is small. Choose Keep PNG lossless to preserve the full palette.

Resize when the destination allows it

If you can use fewer pixels, test a smaller copy and zoom in again. Check whether a number, checkbox or letter still reads clearly at the new size.

A curved limestone stairway frames the blue sky and the seaWebP

Check the image in its layout

Use WebP for the thumbnails, gallery photos and article headers you need to compress. Lightpic keeps static WebP files in their original format.

Try the largest spot on the page

Before you compress image assets for a gallery, test one in its largest slot. Look at smooth areas like the blue sky or the shadow on the curved wall.

Check different kinds of detail

A flat illustration and a photo full of leaves often come out at different sizes. Give each kind of image a quick preview before running a whole batch.

Read the attachment rules

A site can display WebP on a page and still ask for a JPG attachment. Check the accepted file type before preparing the batch.

The checkerboard shows where the PNG is transparent. Those squares are part of the preview and will not appear in a downloaded image.

Compress image files to a KB limit

When a form says “100 KB max,” set that limit first. Lightpic checks each result and shows how far any file is over.

Two photos, one 100 KB cap

Lake photo at full dimensions127.8 KB

Over limit by 27.8 KB

Lake photo after retry77.6 KB

Fits limit

The ceramic photo already fit at 65.9 KB. In this Chrome test, only the lake photo needed a retry, which reduced it to 1,152 × 768 pixels.

To repeat the lake photo test, choose Target size, select 100 KB and click Try a sample.

Open the compressor
  1. Use the number the form gives you

    Set 100 KB, 200 KB, 500 KB or a custom limit. Lightpic checks every file against that number, using 1,000 bytes per KB.

    Leave room under a strict maximum

    If you need to compress image files below 200 KB, try 195 KB. The tool uses the actual byte count, even when the size on the screen is rounded.

  2. Keep the dimensions the form expects

    A portrait can be under 200 KB and still be too narrow. Check both numbers before you compress image files for a form that specifies a minimum width or height.

    Give the first pass a chance

    Keep resizing off if dimensions are fixed. Lightpic tries different quality settings for JPG and WebP and optimizes PNG at full size. Choose WebP when the form accepts it.

  3. Retry just the file that’s over

    Over limit shows how many KB you still need to save. If the form accepts fewer pixels, choose Retry with resizing for that one file.

    Check the new size and dimensions

    Lightpic retries from the original and keeps its proportions. Check the new width and height, then open the preview if faces or text need a closer look.

  4. Download the files that are ready

    When you compress image batches to a target size, each file gets its own result. Download the images that fit while you check the ones that are over.

    Look for a combined attachment cap

    Some forms also limit the total size of all attachments. Add up the individual file sizes before submitting. The ZIP is a convenient way to collect them.

Prepare images for forms, shops and messages

A form can reject a file over its limit. A shop still needs a legible label. Here’s how to compress image files for the place they’ll end up.

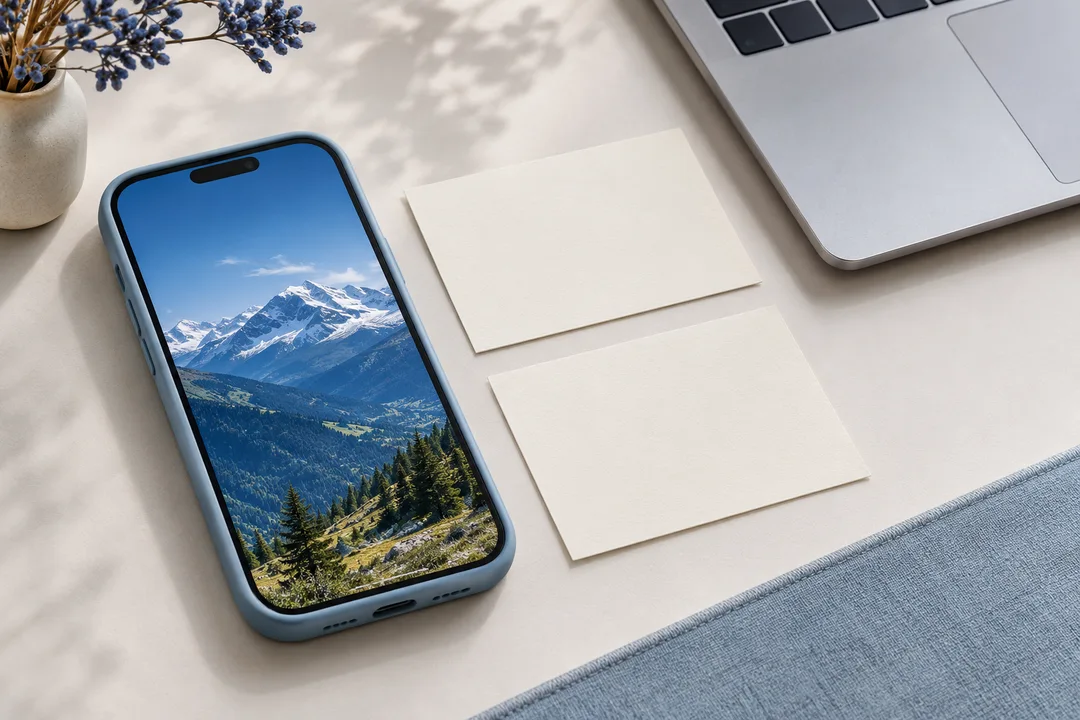
A phone displaying a photo beside paper cards and a laptop on a desk
One source photo can give you a copy for a form, a gallery and a message.

The form with a 200 KB cap

Before you compress image files for an application, read the file type, size and dimensions on the form. Check that any fine print or document edges are readable in the preview.

If the form still says no

Check the aspect ratio, file extension and minimum pixel dimensions. A smaller file can still fail if the form expects a square JPG and you attach a wide PNG.

The product label that has to stay legible

Compress image assets in groups based on where they’ll appear. Test a thumbnail in the listing and a larger photo in the gallery before applying the same settings across the set.

Look for what answers a buyer’s question

Check whether you can still read a model number, tell two finishes apart or see how fabric is woven. Keep the source handy for future close-ups.

The screenshot someone has to troubleshoot

For a team chat, compress image attachments in Smart compress mode. Save a ZIP for a group of related screenshots, or download a single image for a message.

Keep the clue in the frame

Check the error message, the selected menu and the surrounding context. If private information is visible, cover it in an editor before sharing the screenshot.

Before you send it, take a closer look

When you compress image files, a smaller number tells you about the bytes. The preview tells you if the label, face or logo still looks right.

Open the result at the size it will be seen

A thumbnail can look sharp when a full-screen version looks soft. Open the result where you plan to use it, or at a similar size on your device.

Look at the part people zoom in on

For a form, check the face or the edges of the document. For a product page, check the area that shows how a part fits or what a label says.

Make sure small text still reads

Zoom in on the smallest line of text. When you compress image files in JPG, check for softened edges or faint blocks around the letters.

Give tiny type a little more room

Use a less restrictive cap if the destination allows it. If a graphic has thin lines or small labels, keep the original pixel dimensions and try a clean PNG source.

Check logos over two backgrounds

A logo can look clean on white and show an unwanted light fringe over a dark background. Inspect the outside edge and soft shadows.

Test on light and dark

If you compress image assets with transparency, test the PNG or WebP on the backgrounds where it will appear. Compare the outside edge and any soft shadow.

Keep the source you can crop again

When you compress image files for sharing, save the download beside your original. Give the smaller copy a name that tells you what it’s for.

Use the original for the next version

A fresh crop from the original gives you more room than cropping a small copy. It also avoids stacking quality losses from repeated JPG or WebP exports.

Frequently asked questions

How do I compress image files to 200 KB or less?

Select Target size, choose 200 KB and add your image. Download it when Lightpic shows Fits limit.

If the result is over 200 KB, allow resizing if the destination accepts smaller dimensions. For a strict “less than 200 KB” rule, set a slightly lower cap.

Can I download the files that fit while I retry the rest?

Yes. When you compress image files as a batch, each file gets a separate result. Download ready files to get a ZIP of the ones that fit.

The others stay in your list. If smaller dimensions are allowed, retry an over-limit result on its own and download it when it’s ready.

Can I compress image files without changing their dimensions?

Yes. Smart compress keeps the original width and height. Target size also keeps both dimensions unless you enable resizing.

With fixed dimensions and a strict cap, the attainable file size depends on the image format and how much detail the source contains.

Will compression affect image quality or transparency?

JPG and WebP can lose fine detail during re-encoding. Choose Keep PNG lossless when you need lossless PNG optimization. Static PNG and WebP outputs retain transparency.

Resizing reduces the number of pixels. Check small text and sharp edges in the preview before downloading a resized copy.

How many images can I compress at a time?

You can compress image batches of up to 12 files, with a limit of 20 MB and 25 megapixels per image. Lightpic processes one at a time to manage memory.

For a larger folder, download the first batch, clear the list and add the next group.

Why did Lightpic keep my original image?

The original may already meet your target or be smaller than a newly encoded copy. Lightpic returns the source in either case.

This often happens with previously optimized JPGs or simple PNG graphics. In Smart compress, these files are labeled Original kept.

Will the compressed image keep its metadata?

Re-encoding can remove metadata such as camera settings, location and creation date. A returned original file keeps its existing metadata.

Save the source if metadata matters. Check for location information before you share a sensitive photo.

Where do the compressed files go?

Single images and ZIP files go to your browser's download location or the destination you choose.

Download your results before reloading or closing the page. Lightpic keeps the list in the open tab, so a refresh starts a new session.

Your images stay on your device

Lightpic reads, compresses and prepares your downloads in the browser. Your files and their names stay in the open tab while you work.

Read the privacy policy